I'm studying at the moment to become a secondary school art teacher, and I love every minute of my placements. Interacting with students and sharing my passion for art is extremely rewarding.
I do get a few students asking me about techniques and ways to incorporate images into their work, and I thought I will do a few tutorials on some easy and handy techniques I know.
Here is the first one - there will be more to follow!
Acrylic Paint Transfer
Step 1:
Make a colour or black & white copy of the image you want
to transfer. Cut to the shape and size you want.
Step 2:
Paint your background
with acrylic paint, don’t paint too dry. You do need a decent amount of paint for the image
to adhere to, but if it is too thick it will ooze out on the sides and the
images will move around when you burnish it.
Step 3:
Decide where
you want your image and place it gently on the wet paint. Press it in firmly.
And smooth all edges flat.
Step 4:
Burnish image
into the painted surface with the back of a spoon, top of a metal lid or
anything with a hard, smooth surface.
Press firmly
but not so hard that the image tear. You want to burnish the whole surface of
the image so that the ink of the image adhere to the painted surface.
Step 5:
After
burnishing you can smooth out the painted surface around the image while the
paint is still wet. When this is
done you need to leave the paint to dry OVERNIGHT
or if you need to work on it sooner, dry it with a hairdryer until completely
dry.
Step 6:
When paint is
completely dry, add droplet of water to the back of the image. Don’t add too
much water, it is better to work with a minimal amount. You want the paper
slightly damp, not wet.
Rub the paper
gently with your finger to remove the paper.
Step 7:
Keep rubbing
carefully but don’t over rub, as this can take of the ink of the image. Keep
rubbing until all the paper is off.
Step 8:
When
all the paper is removed, you can use a dry brush to gently remove any last
bits of paper fluff left over from rubbing.
Incorporating a transferred image into your artwork:
Some ideas:
Use existing lines and extend them to make grids in your
work.
Use modelling paste to add interest and texture.
Use different mediums like ink and try blotting to create
interesting textures.
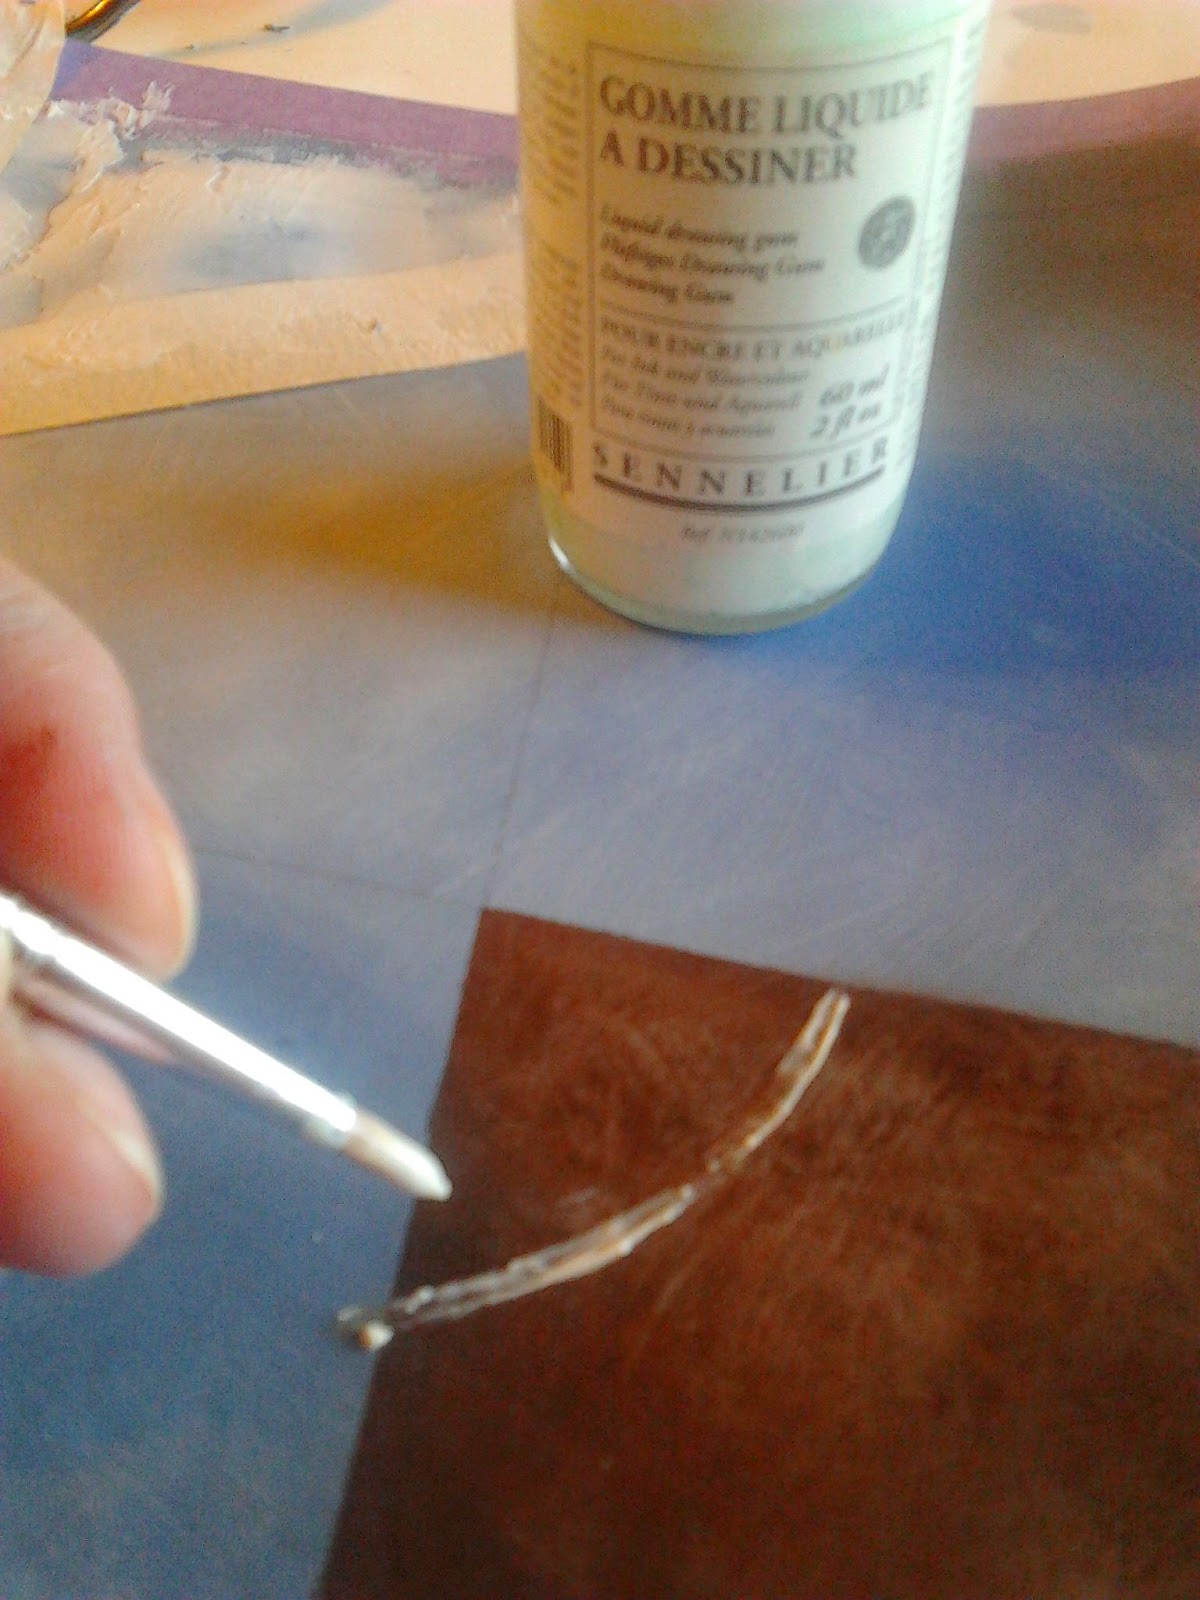
Use masking fluid to create interesting areas of negative and positive space.
Use masking fluid to create interesting areas of negative and positive space.
Add painted areas to your work:
You can also work over your transfer with pencil in addition to paint, or add even more transfers using other transfer techniques like transparent tape transfers or clear spray paint transfers.
Final artwork:


No comments:
Post a Comment