Pages

Tuesday 28 May 2013

How to create an interesting surface pattern using watercolour paint and cling film


Creating a textured water colour paint surface with cling film.


11.   Paint colours you want to use on paper. Paint needs to be quite liquid, but not too wet.


12. Take a piece of cling-film wrap and place over the painted surface.


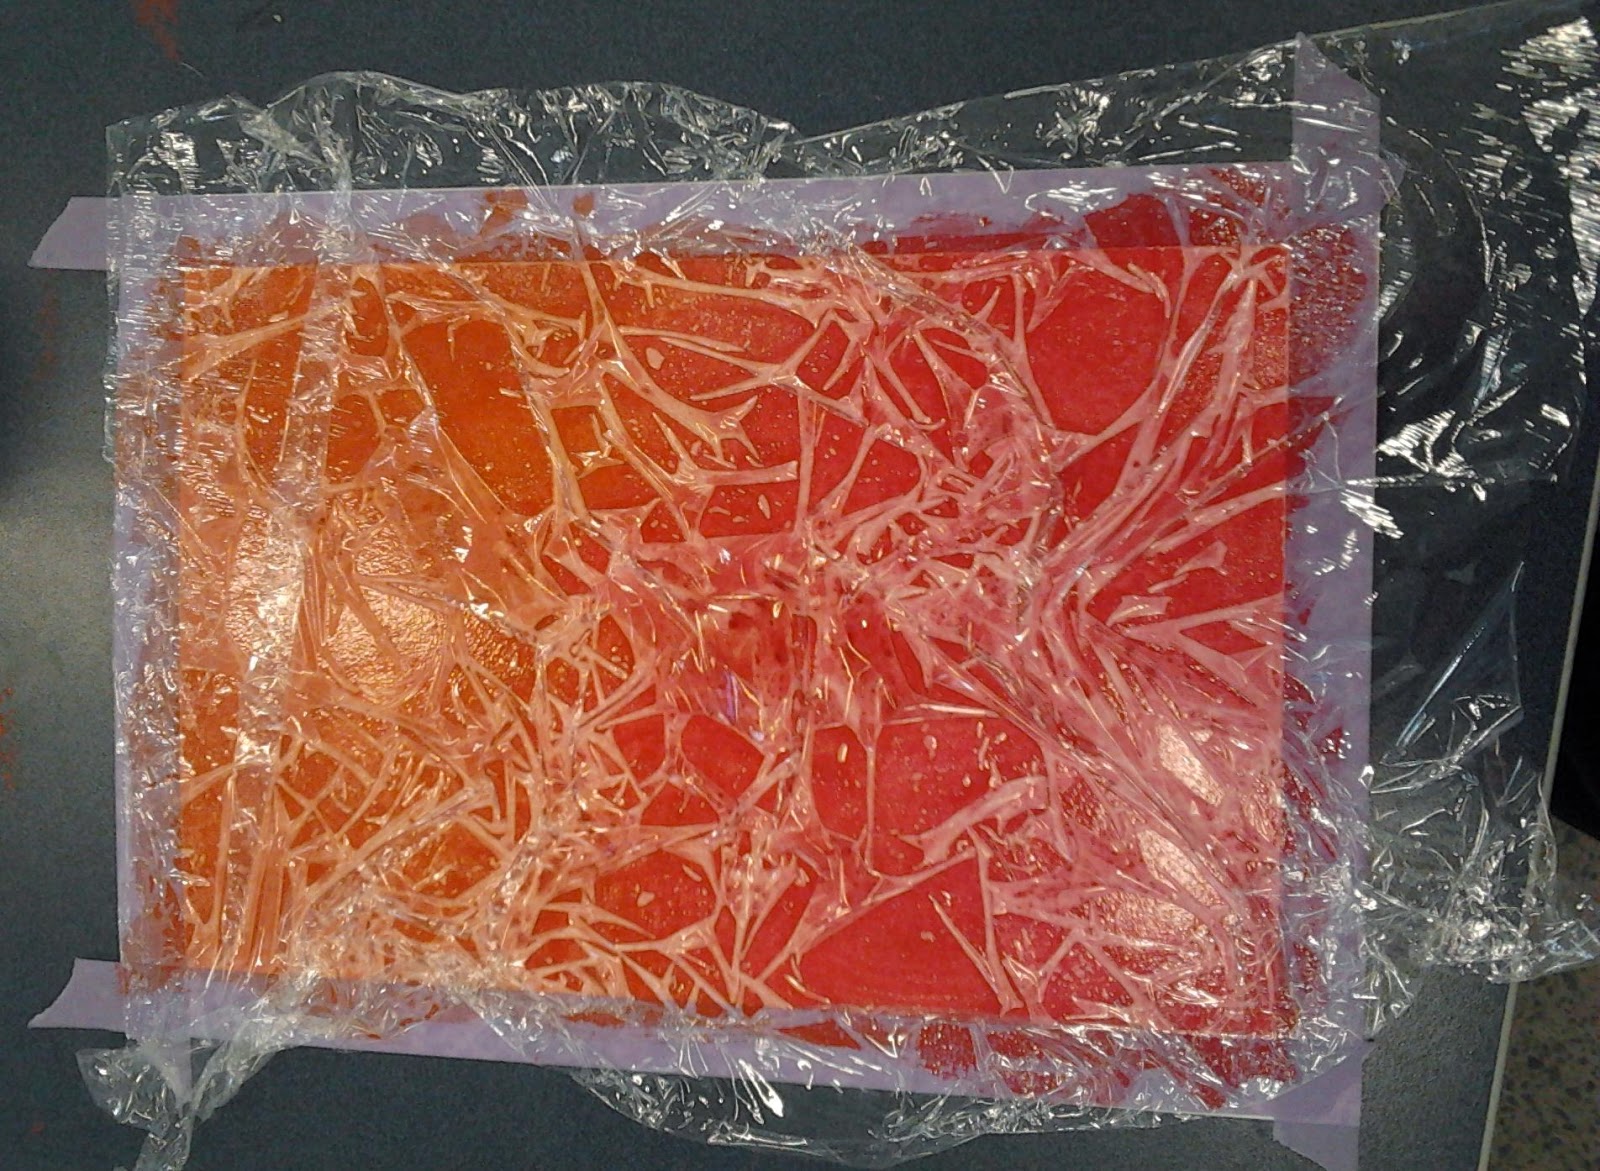
 3. Gently push cling wrap to create a more crumpled effect, the more crinkles you get the more visual texture your surface will have.


 Another example with the cling wrap on the water colour paint surface - waiting for it to dry.


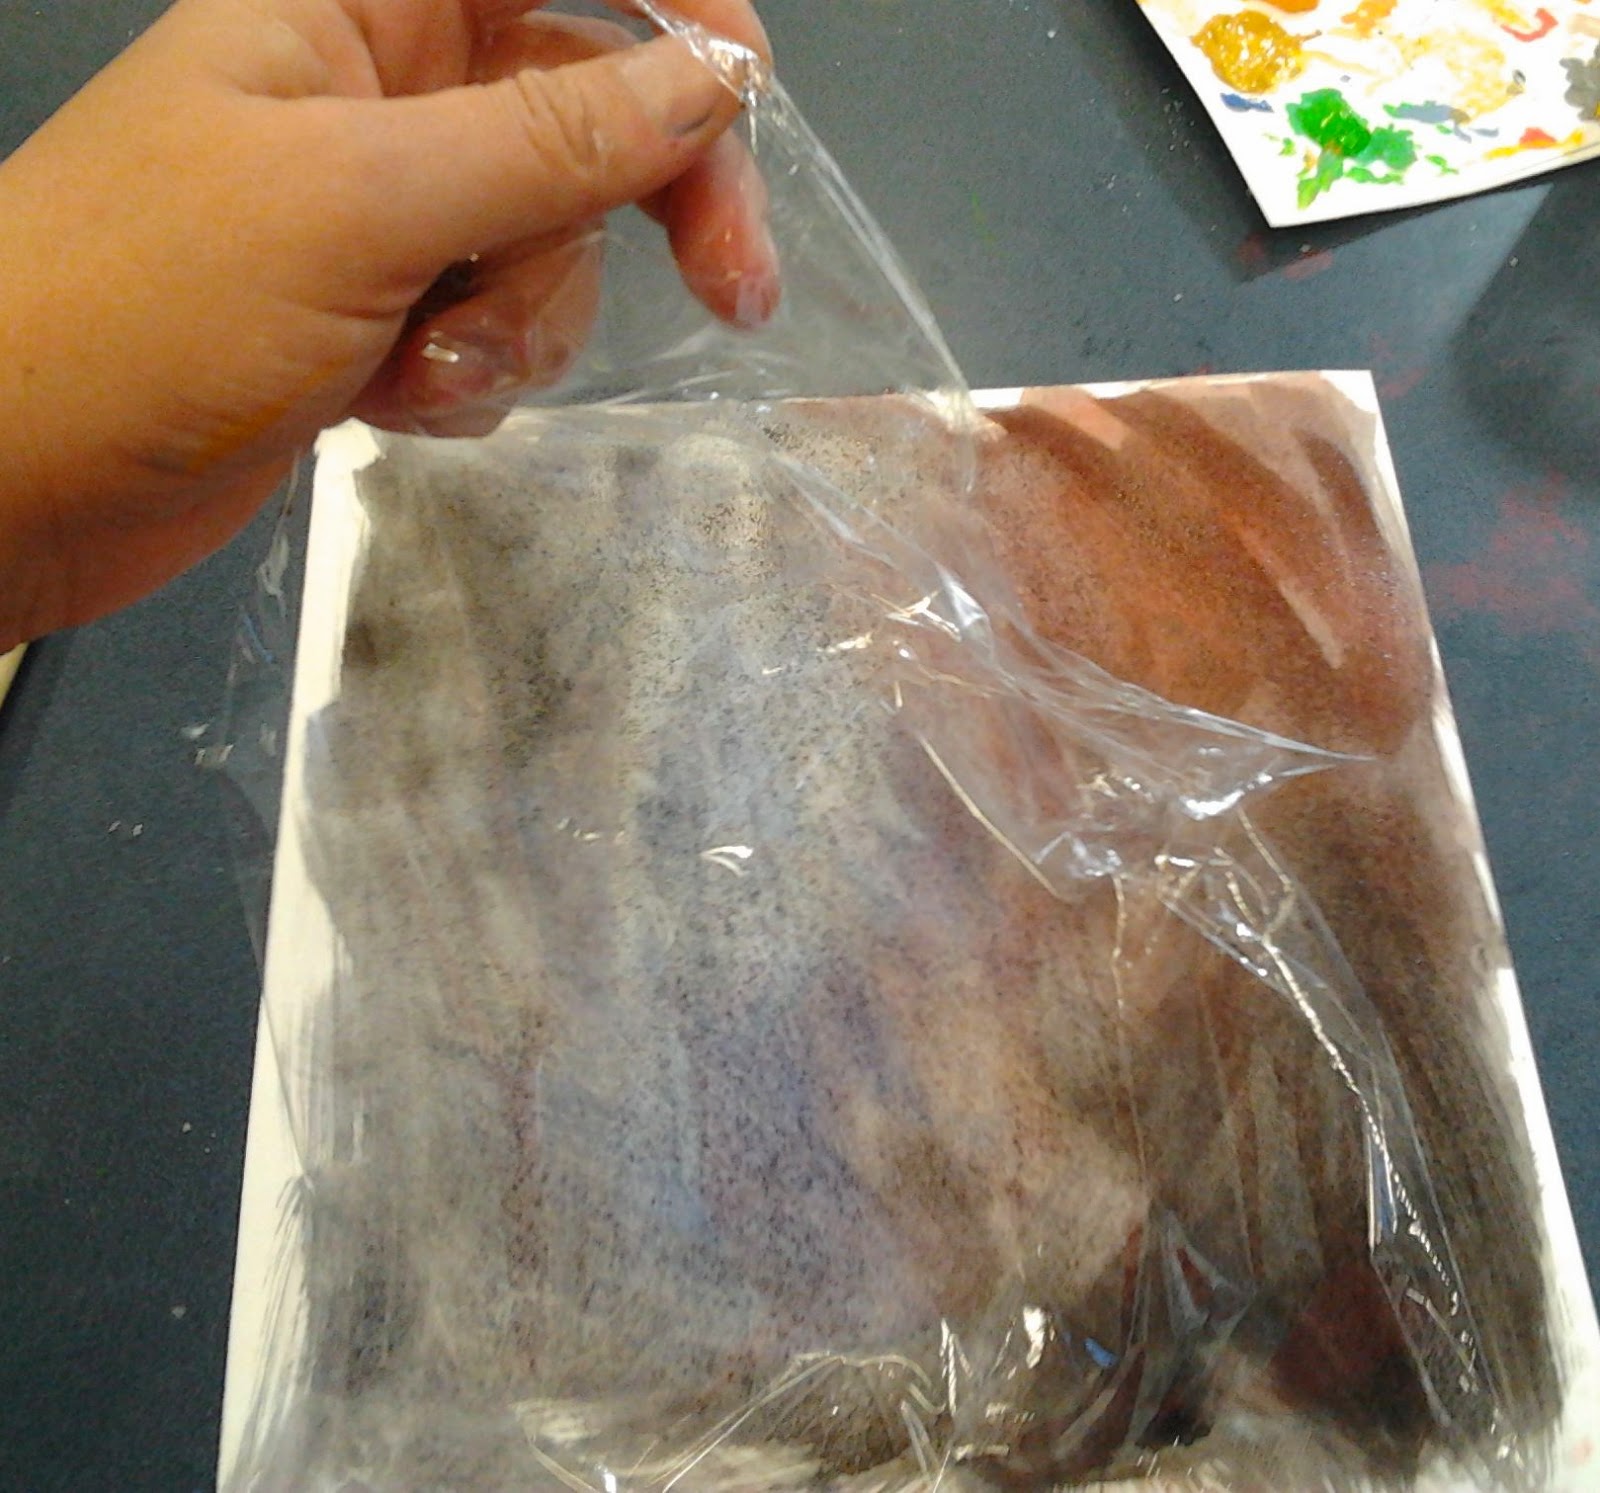
4. Peel of the plastic wrap when the paint is dry or almost dry.


Example of the visually textured surface with the cling wrap removed.
Now you can create (paint, draw etc...) over it if you want to!


Thursday 23 May 2013

The results of my Kiwiana unit plan done with year 9's

I've been teaching now for 3 weeks a Kiwiana unit plan I designed for year 9's. I might have been a bit ambitious to get it done in 3 weeks but the students still managed to hand in (mostly) completed art works. It was a bit of a wild and unruly year 9 class, and I did have my hands full with behavior management, but we got there in the end!!

I wanted to get them to experience a lot of different mediums and techniques, while still learning a bit about the concept of Kiwiana in the process.

The 6 different mediums/techniques were: Continuous line drawing, tonal pencil drawing, water-colour pencil drawing, blue pen drawing, collage and white pencil on black paper.

This is the example I made:


 Some days I did demo's while they were gathered around me, and then I would put it on the board for them to refer to later if they needed to.


  I've spend quite a bit of time explaining the reversed tonal value in the white on black paper drawings too.


Here is some of the students work:


I also asked for a bit of feedback and reflection at the end on the unit-plan with exit tickets. Worked a charm because they all needed to give it to me at the door as they left, so I got (almost) all of the feedback.
Now I can work on improving this unit plan for the future! :-)


Thursday 9 May 2013

Crayon scratch off technique


An oldie but a goodie, I always find this makes quite an attractive end result. Great way for the students to start thinking in layers too.

Crayon scratch off technique


11.   With the crayon colour or colours of your choice, colour in the area you want to scratch out off. You need to press hard with the crayon. This can also be done with a candle stick (which means if you had a painted surface under the scratch it will show through the clear candle wax)

22.  Paint acrylic paint over the crayon area. It needs to be totally covered. As seen in the finished example on the left, you can apply your paint in a painterly fashion. Does not have to be a plain, flat cover of paint.

33. Wait until the paint is COMPLETELY dry.

44. When completely dry, use something sharp to scratch out your subject/pattern.

 Note: In this pictured examples the before shown on the right is not how the one on the left looked like before hand - it just shows steps 1 to 3 to make it clearer :-)
The finished example on the left had red and yellow-ochre crayons underneath, and a blue/grey painted surface over it.