Pages

Thursday, 4 April 2013

How to do an acrylic paint image tranfer....


I'm studying at the moment to become a secondary school art teacher, and I love every minute of my placements. Interacting with students and sharing my passion for art is extremely rewarding. 
I do get a few students asking me about techniques and ways to incorporate images into their work, and I thought I will do a few tutorials on some easy and handy techniques I know.

Here is the first one - there will be more to follow!

Acrylic Paint Transfer

Step 1:
Make a colour or black & white copy of the image you want to transfer. Cut to the shape and size you want.


Step 2:
Paint your background with acrylic paint, don’t paint too dry. You do need a decent amount of paint for the image to adhere to, but if it is too thick it will ooze out on the sides and the images will move around when you burnish it.


Step 3:

Decide where you want your image and place it gently on the wet paint. Press it in firmly. And smooth all edges flat.


Step 4:
Burnish image into the painted surface with the back of a spoon, top of a metal lid or anything with a hard, smooth surface.
Press firmly but not so hard that the image tear. You want to burnish the whole surface of the image so that the ink of the image adhere to the painted surface.


Step 5:
After burnishing you can smooth out the painted surface around the image while the paint is still wet. When this is done you need to leave the paint to dry OVERNIGHT or if you need to work on it sooner, dry it with a hairdryer until completely dry.


Step 6:
When paint is completely dry, add droplet of water to the back of the image. Don’t add too much water, it is better to work with a minimal amount. You want the paper slightly damp, not wet.
Rub the paper gently with your finger to remove the paper.


Step 7:
Keep rubbing carefully but don’t over rub, as this can take of the ink of the image. Keep rubbing until all the paper is off.


Step 8:
When all the paper is removed, you can use a dry brush to gently remove any last bits of paper fluff left over from rubbing.


Incorporating a transferred image into your artwork:

Some ideas:

Use existing lines and extend them to make grids in your work. 

  
   Use modelling paste to add interest and texture.


Use different mediums like ink and try blotting to create interesting textures.
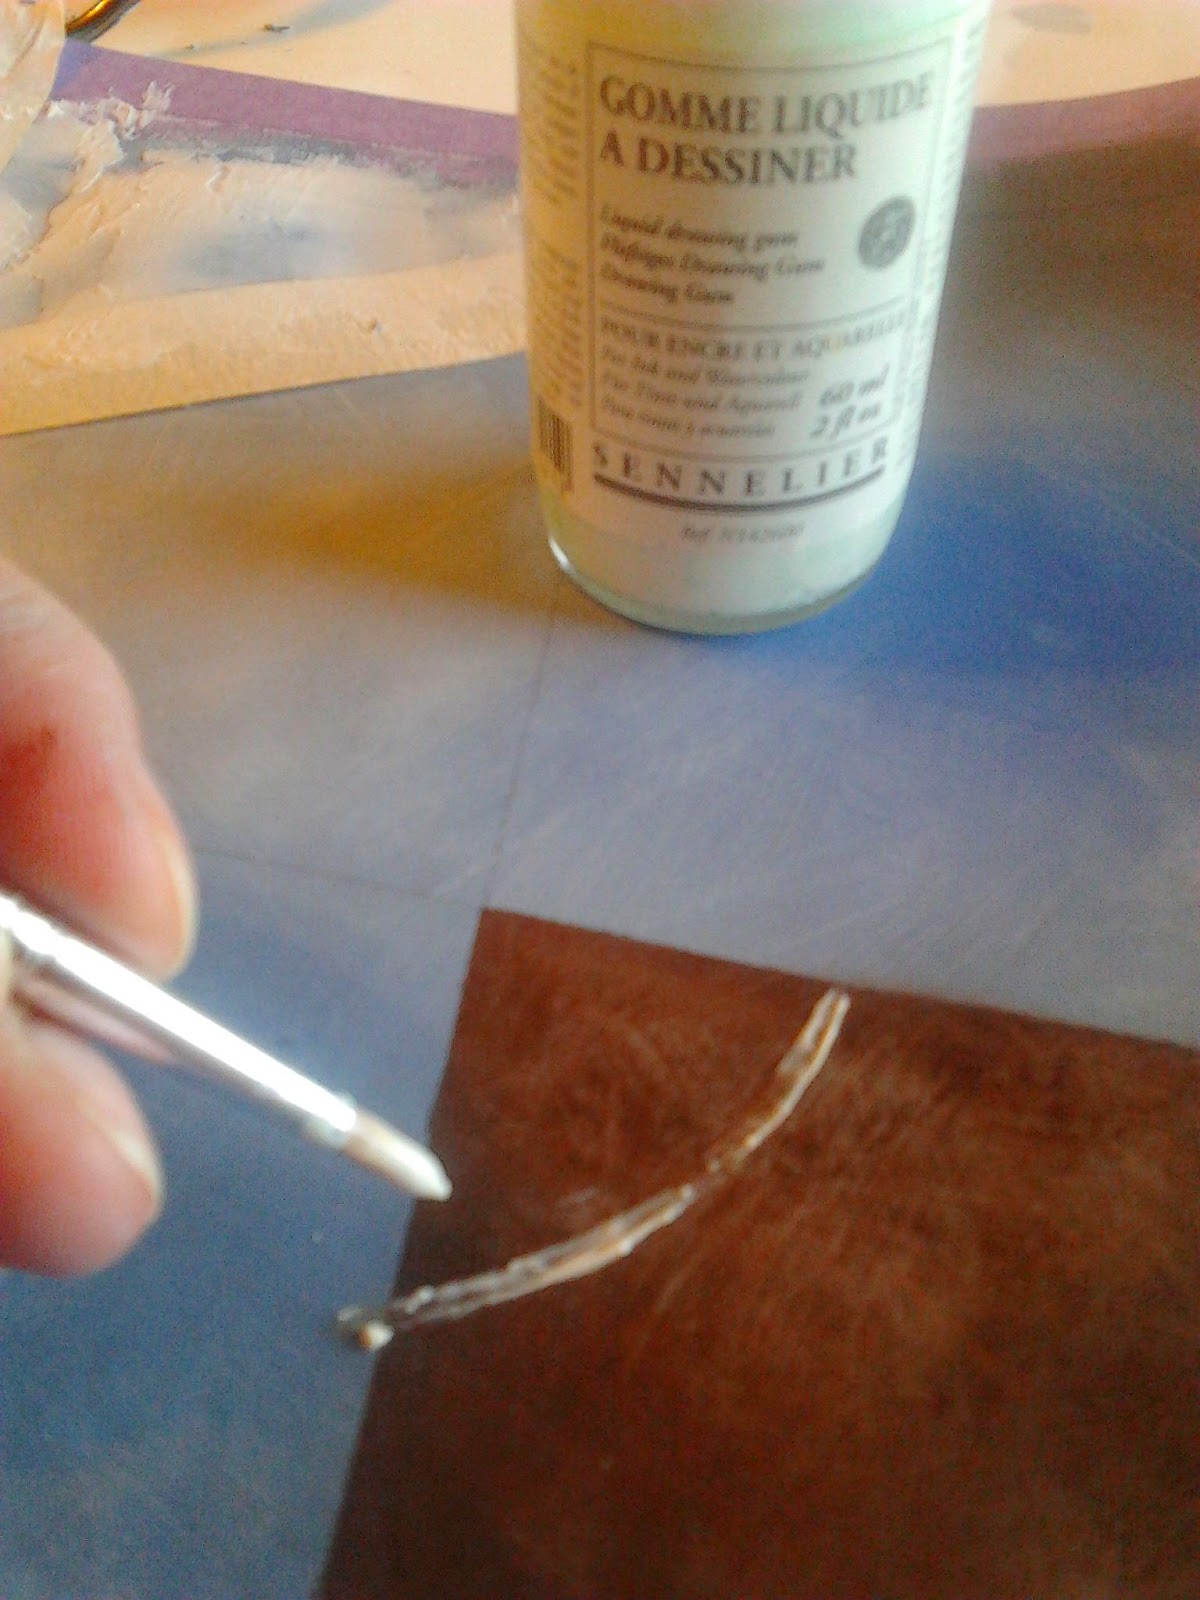
Use masking fluid to create interesting areas of negative and positive space.


Add painted areas to your work:


You can also work over your transfer with pencil in addition to paint, or add even more transfers using other transfer techniques like transparent tape transfers or clear spray paint transfers.


 Final artwork:


Wednesday, 20 June 2012

Cold, wet and crafty.

It's cold and wet in New Zealand, and I've been working in front of the heater at night making some tie necklaces.
What I love most about them is that they are quite unpredictable, and you never really know how they will end up. I let myself just 'go' with them, so they are a very organic process, influenced by their pattern and texture.
I finally started listing some of them on my very old and forgotten Etsy account, so if there is one you fancy, go and get it!


Wednesday, 28 September 2011

Aeroplane Party for my baby boy's first birthday.

Had my baby boy's first birthday party this weekend. Was hard work and a lot of planning but SO worth it! Will share some of the day's details, and some recipe's too.

Detail of the 'airport'

Entrance to the house - decorated with New Zealand flag bunting, and the 'airline' name
I went with an aeroplane theme, but took it a bit further to include the whole experience of flying and travel.
Setting the scene with a toy aeroplane. Note all the cool drinks and spoon holder covered with old maps.
I made a very big aeroplane cake all by myself, and decorated it with a yummy butter icing. The cake recipe is one I've found online. A nice, basic and easy recipe you can find here: http://www.stayathomemum.net.au/recipes/baking/sand-cake/
 
The massive aeroplane cake - and I made it myself from scratch! Hard work!


I also had some GORGEOUS rainbow cupcakes made by the talented Corli at Le Petit Four. Not only were they SUPER cute on the outside. Inside they were an amazing rainbow in colour.


rainbow cupcakes

The 'baggage claim' area


For the party favours my mum and I made A4 size drawstring bags, and decorated them with the Royal New Zealand Airforce Logo. I thought they looked really neat.
I also attached personalized 'pilot licenses' for each child. Inside the bags were an inflatable beach ball globe, an aeroplane spoon, a hand decorated party blower and an aeroplane sweet.


Close up of the 'pilot licenses' This one is for my 2 year old :-)


Content of the favour bag: an inflatable globe, an aeroplane spoon, an aeroplane sweet and a party blower that I redecorated.

For the birthday boy I made a pilot uniform bib to wear at the party, and also had a pilot hat knitted by the talented Sonia from Creative Aertz. He looked gorgeous, if I have to say so myself! :-)


The bib I made for the birthday boy.
Birthday boy Chris modelling his cute pilot hat and bib.


Monday, 5 September 2011

Planning an aeroplane party...

I have not posted for a while. (sorry!)
Had a lot going on, like moving house, but I'm planning with catch up with my blogging - promise!

Well, my baby boy is turning one this month. Can't believe how fast time goes. So sad...
I am planning an aeroplane party for him, and have been VERY inspired. SO many great ideas out there! If you've not discovered the wonderful word of Pinterest yet, you MUST have a look. For me its like candy land must be for kids.
My only problem now is that I have too many ideas and inspirations, and not enough time to do them all.

Anyway (getting of topic)I made some cute Aeroplane ticket invites, and send them in some of those old fashioned Air Mail envelopes. (LOVE them)

Now the invites are done and dusted, and in about 2 weeks it's party time.
I have SO much to do. 
Almost everything with the party is handmade by me and my mum, so it really is a labour of love. Will share photos of the party when I can. :-)

Thursday, 26 May 2011

Traditional Kitchen Tea (Bridal Shower)

According to the Wikipedia:
"A bridal shower is a gift-giving party held for a bride-to-be in anticipation of her wedding. The custom originated in the 1890s and is today most common in the United States, Canada, and by North American influence, in Australia."
Well, in South Africa - where I'm from - we call it a Kitchen Tea" or "Kombuis Tee" in Afrikaans, and it is very similar to a bridal shower.

I organised my brother's bride-to-be (Nina's) Kitchen Tea, and had lots of fun planning and organizing the event.

It was at the Auckland Botanical Gardens, and I made an informal "high tea" (if there is such a thing) in lime green and orange tones. We played some games; like translating some Afrikaans phrases into English, guessing what is in the gifts, offering eggs (according to Filipino traditions) to St Claire to have good weather on the wedding day  we had a quiz on the husband to be's favourite things and dislikes.
Every wrong answer was 'rewarded' with something she had to wear or put on. Things like a veil on the head, apron, necklace made from green scrubbers and goldilocks, and a bridal bouquet made from kitchen utensils, wash cloths and the like.


She looked gorgeous...hehehe


The food are always a highlight at events like these, and this one was no exception!
My Mum made very yummy banana and date loafs, which I decorated with these adorable toppers I got from The Pretty Blog. Available for FREE to print and use how you like!
I painted them with water paint to give them a washed out colour in orange and lime green.


Also decorated a yummy chocolate cake, baked by my good friend Corli from Le Petit Four with some small kitchen utensils and a little framed card. Coli also made some other delicious contributions to the kitchen tea, like these scrummy poppyseed cupcakes with lemon icing. YUM!!


It was such a fun day - and I'm so happy to welcome Nina to our family!
Will share some photos and details of a special recipe box I made for her in my next blog post :-)


Mini savoury cheese and pesto scones.

Sunday, 8 May 2011

Wedding fever..

Well - It's been totally wedding fever around our house recently.
My brother got married this Saturday with a WONDERFUL girl. I couldn't be happier for them!

To lead us all into the wedding obsession, it was of course, the BIG royal wedding of Kate and Prince William a week before my brother's wedding. I also organized a Kitchen Tea for her, and I was SO inspired with what I've found on the net for weddings!
Wish all of these resources were there when I got married!

Will be sharing some of my wedding inspiration in the next couple of posts, but firstly I want to share a FANTASTIC wedding idea blog I've found. Lots of free downloads and printables and of course loads of inspiration!
Have a look at http://www.theprettyblog.com/ - I know you will be inspired!
xxx
Detail of the Keyring gift decoration I made for the couple.
The gorgeous couple - My brother David and Nina.